Step by Step: How to Lay Ceramic Tile
Beautiful tile can make a huge impact on your room, and it’s a project you can definitely tackle yourself. Get started with this step-by-step tutorial, then follow our simple instructions for how to lay ceramic tile!
Beautiful tile can make a huge impact on your NYC home, and it’s a project you can tackle yourself.
Get started with our step-by-step tutorial on how to lay ceramic tile!
Gather Your Supplies
Before starting, gather your supplies:
- tile
- tile adhesive
- trowel
- tile spacers
- tile cutter
- level
- rubber mallet
- grout
- rubber grout float
- grout sealer
Preparing to Tile
Before starting, you’ll need to prep your supplies.
Open the tile boxes and mix the tiles together to account for color variations. Then, prepare your subfloor for the tile.
Next, lay out your tiles on your floor, inserting spacers between them. Your first tile should be in the center of the floor with additional tiles placed out from there. Measure and mark your starting point.
Finally, prepare the tile adhesive according to package directions.
Get Started
You’re ready to begin … after you’ve donned your goggles and gloves, of course!
Starting at the center point, use the trowel to apply tile adhesive to a small section of the floor. Don’t obscure that reference mark.
Lay the tile over the adhesive and press into place. Insert tile spacers at the edge of your tile, then lay another tile. Repeat.
If you get adhesive on top of the tiles, remove it with a damp towel.

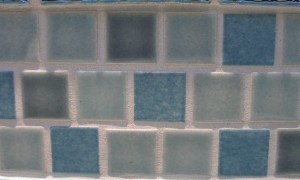
Image Source: Flickr/Emily May
Stop and Perfect
When you have finished working on a section, place the level over your tiles and use the rubber mallet to gently correct any uneven tiles.
Corners and Edges
Continue this process for laying out tiles, until there is no room for another whole tile.
Use a tile cutter to cut tiles to fit in these spaces. For a small job, you can use a manual cutter. For larger jobs, you will need a wet saw. Here is a simple guide to using different types of tile cutters.
A tile nipper is used for irregular or curved cuts. With this tool, you’ll want to mark the cutting line, then use the nippers to cut away small bits of the tile. Smooth the line with an abrasive stone when you’re finished.
Let It Set
After you’ve laid out the tile, let the tile set undisturbed for the time specified on your adhesive. You’ll usually need to wait at least 24 hours before proceeding.
Apply Grout
The next step is applying grout. Before beginning this step, remove all tile spacers from between your tiles.
Prepare the grout according to the manufacturer’s directions. Use a rubber grout float to apply grout into the space between the tiles and then diagonally across seams to remove excess grout. Work on only a small section of tile at a time.
When you’ve finished a section, go over the tiles with a damp sponge to remove excess grout from the tiles. If your tiles look hazy, go over them with an old t-shirt or use a haze remover.
Repeat this process until you’ve covered all the tiles.
Finishing Up
Avoid heavy traffic on the tiles for at least 12 hours, but preferably for a couple days. After the grout has cured, go over it with tile sealer to prevent your grout from staining.
Apply molding around the floor if desired.

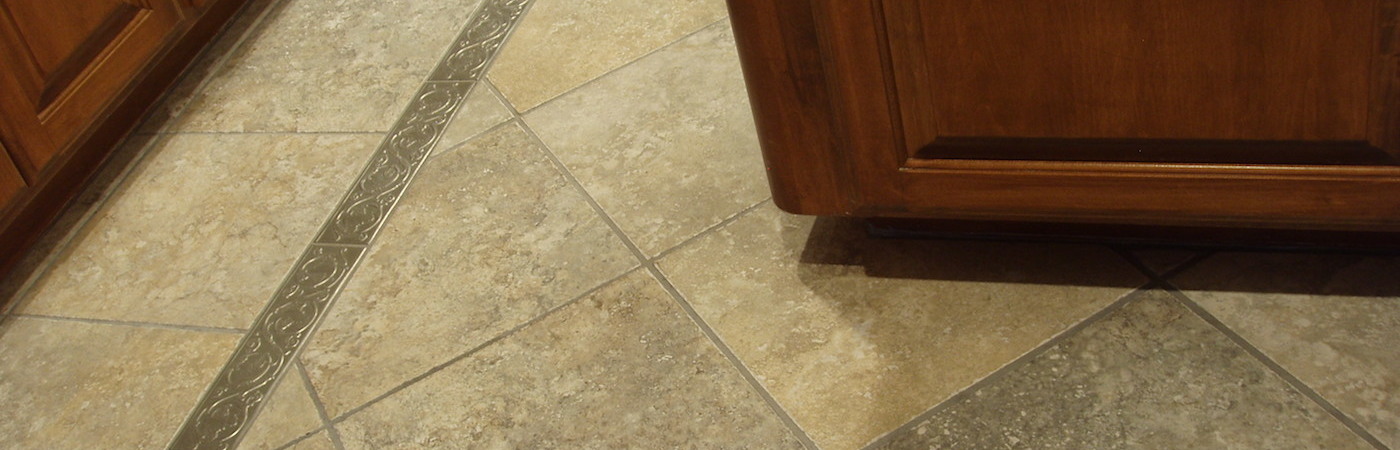
Image Source: Flickr/Christopher Paquette
You’ve always wondered how to lay ceramic tile, and you now you’ve done it. Stand back and admire your work!
Main Image Source: Flickr/mtneer_man
[cf]skyword_tracking_tag[/cf]