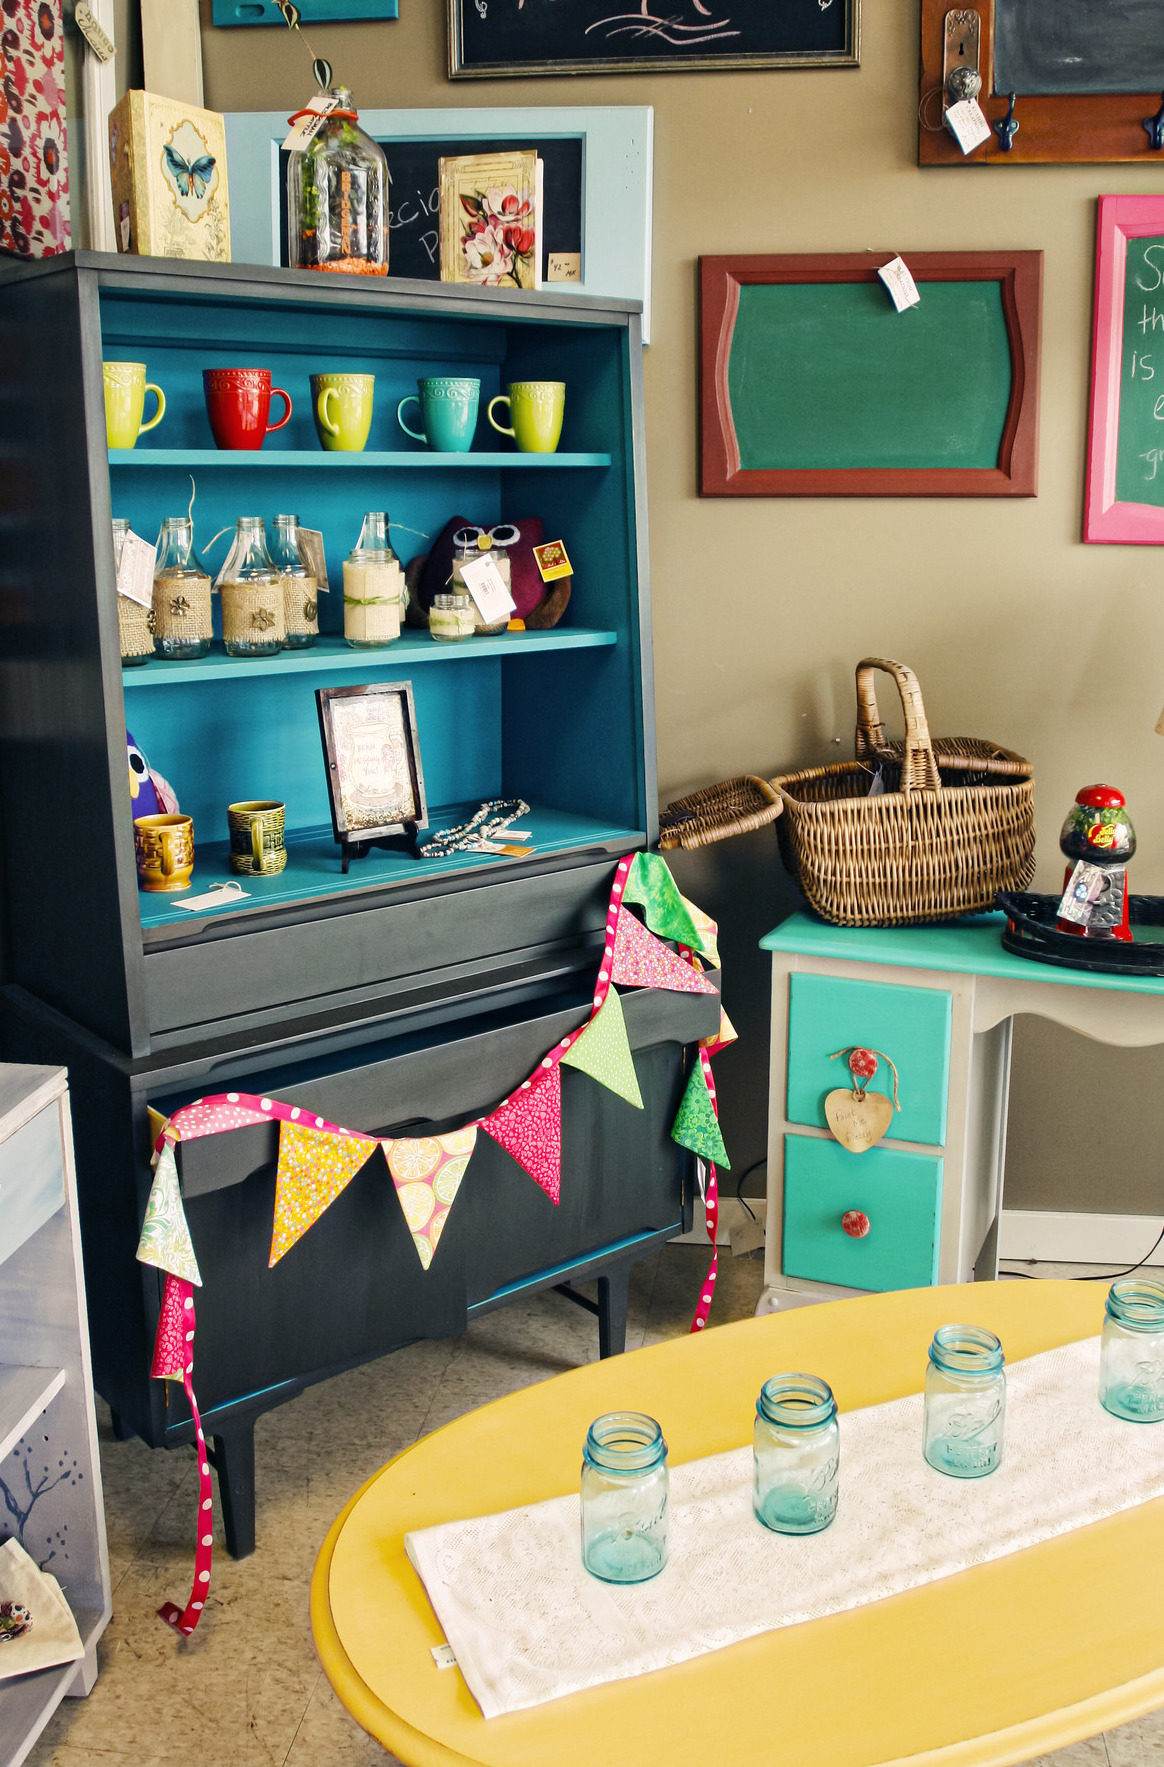
Do you have an old family heirloom in your basement that you can’t bear to part with, but wouldn’t mind updating a bit? With chalk paint, it’s easier than ever to bring an old chair or coffee table back into circulation. Although expensive and rare pieces should be carefully restored by a professional, you can transform an old storage item or your latest yard sale bargain by painting it in a variety of shades with a chalk finish paint.
Prep the Furniture
Although chalk paints don’t require advance preparation, if you have the time to prep your piece of furniture, you’ll probably wind up with longer-lasting results. First, examine your furniture to determine if repairs are needed. Drawer knobs should be removed, if possible, for easier painting. Scratches or nicks in the wood can be repaired with wood putty and then sanded down. Once repairs are complete, lightly sand the entire piece to ensure the surface is even and that the paint will adhere better. The final optional step before painting would be the application of primer, which also improves paint adherence.
Choose Your Chalk Finish Paint
If you prefer a matte, antique paint look, chalk finish paint is a great choice to make over your furniture. Not to be confused with chalkboard paint, chalk finish paint gained in popularity when Annie Sloan began making her version in 1990. She used the paint to quickly repaint furniture pieces. Sloan named the water-based paint “chalk paint” because of the soft, chalky texture. Sloane’s Chalk Paint is only available online and in specialty paint stores like Phantastic Phinds or Color & Style Home in the Philadelphia area. Many smaller retailers also offer workshops on the application of chalk paint. Some home improvement stores also carry versions of chalk finish paint.

Image Source: Flickr/Fargo-Moorhead CVB
Distressed Finishes
When using chalk paint on furniture, you may need several coats to get the depth of color you’re looking for. By using two layers of chalk paint, it’s possible to create a distressed finish that fits nicely with a vintage furniture piece. First, apply the first color you chose. After the base layer is completely dry, paint the second color on top. Using sand paper, rub the top layer away in areas you’d like to look distressed. The second color will show through for a two-toned, distressed look. To complete your paint project, you’ll want to apply a coat of finishing wax or varnish to seal and protect it.
If you’re in the mood for a quick DIY project, start with a smaller project to get a feel for chalk finish paint. Besides furniture, it can be used on smaller wooden pieces, mirror frames, or candle holders to bring in color and break up the neutral tones in your decor. This extremely versatile paint is fun to use for simple, fast DIY projects around your Philadelphia home.
Main Image Source: Flickr/Wicker Paradise
[cf]skyword_tracking_tag[/cf]


I love the industrial space, but I don’t live in a place like that, so i like your photo. It feels like something I could do in my own furniture. Very inspiring.
I’ve been dying to try the chalk paint for too long now. But I’ve recently been reading that the wax finish isn’t great for “sticky, greasy fingers” that leave marks that you can’t get off. With three kids under the age of 8, that could present a problem. I have some dining room chairs I’d love to try it out on, but I’m a bit trigger shy after the bad rap rumors. Any thoughts?
Great job, really loving the mix of colors there !
Love the retro colors Jennifer, a great little weekend project!
Carly x
you did a great job on this furniture. It looks beautiful. Thank you for sharing this.