
Home Organization
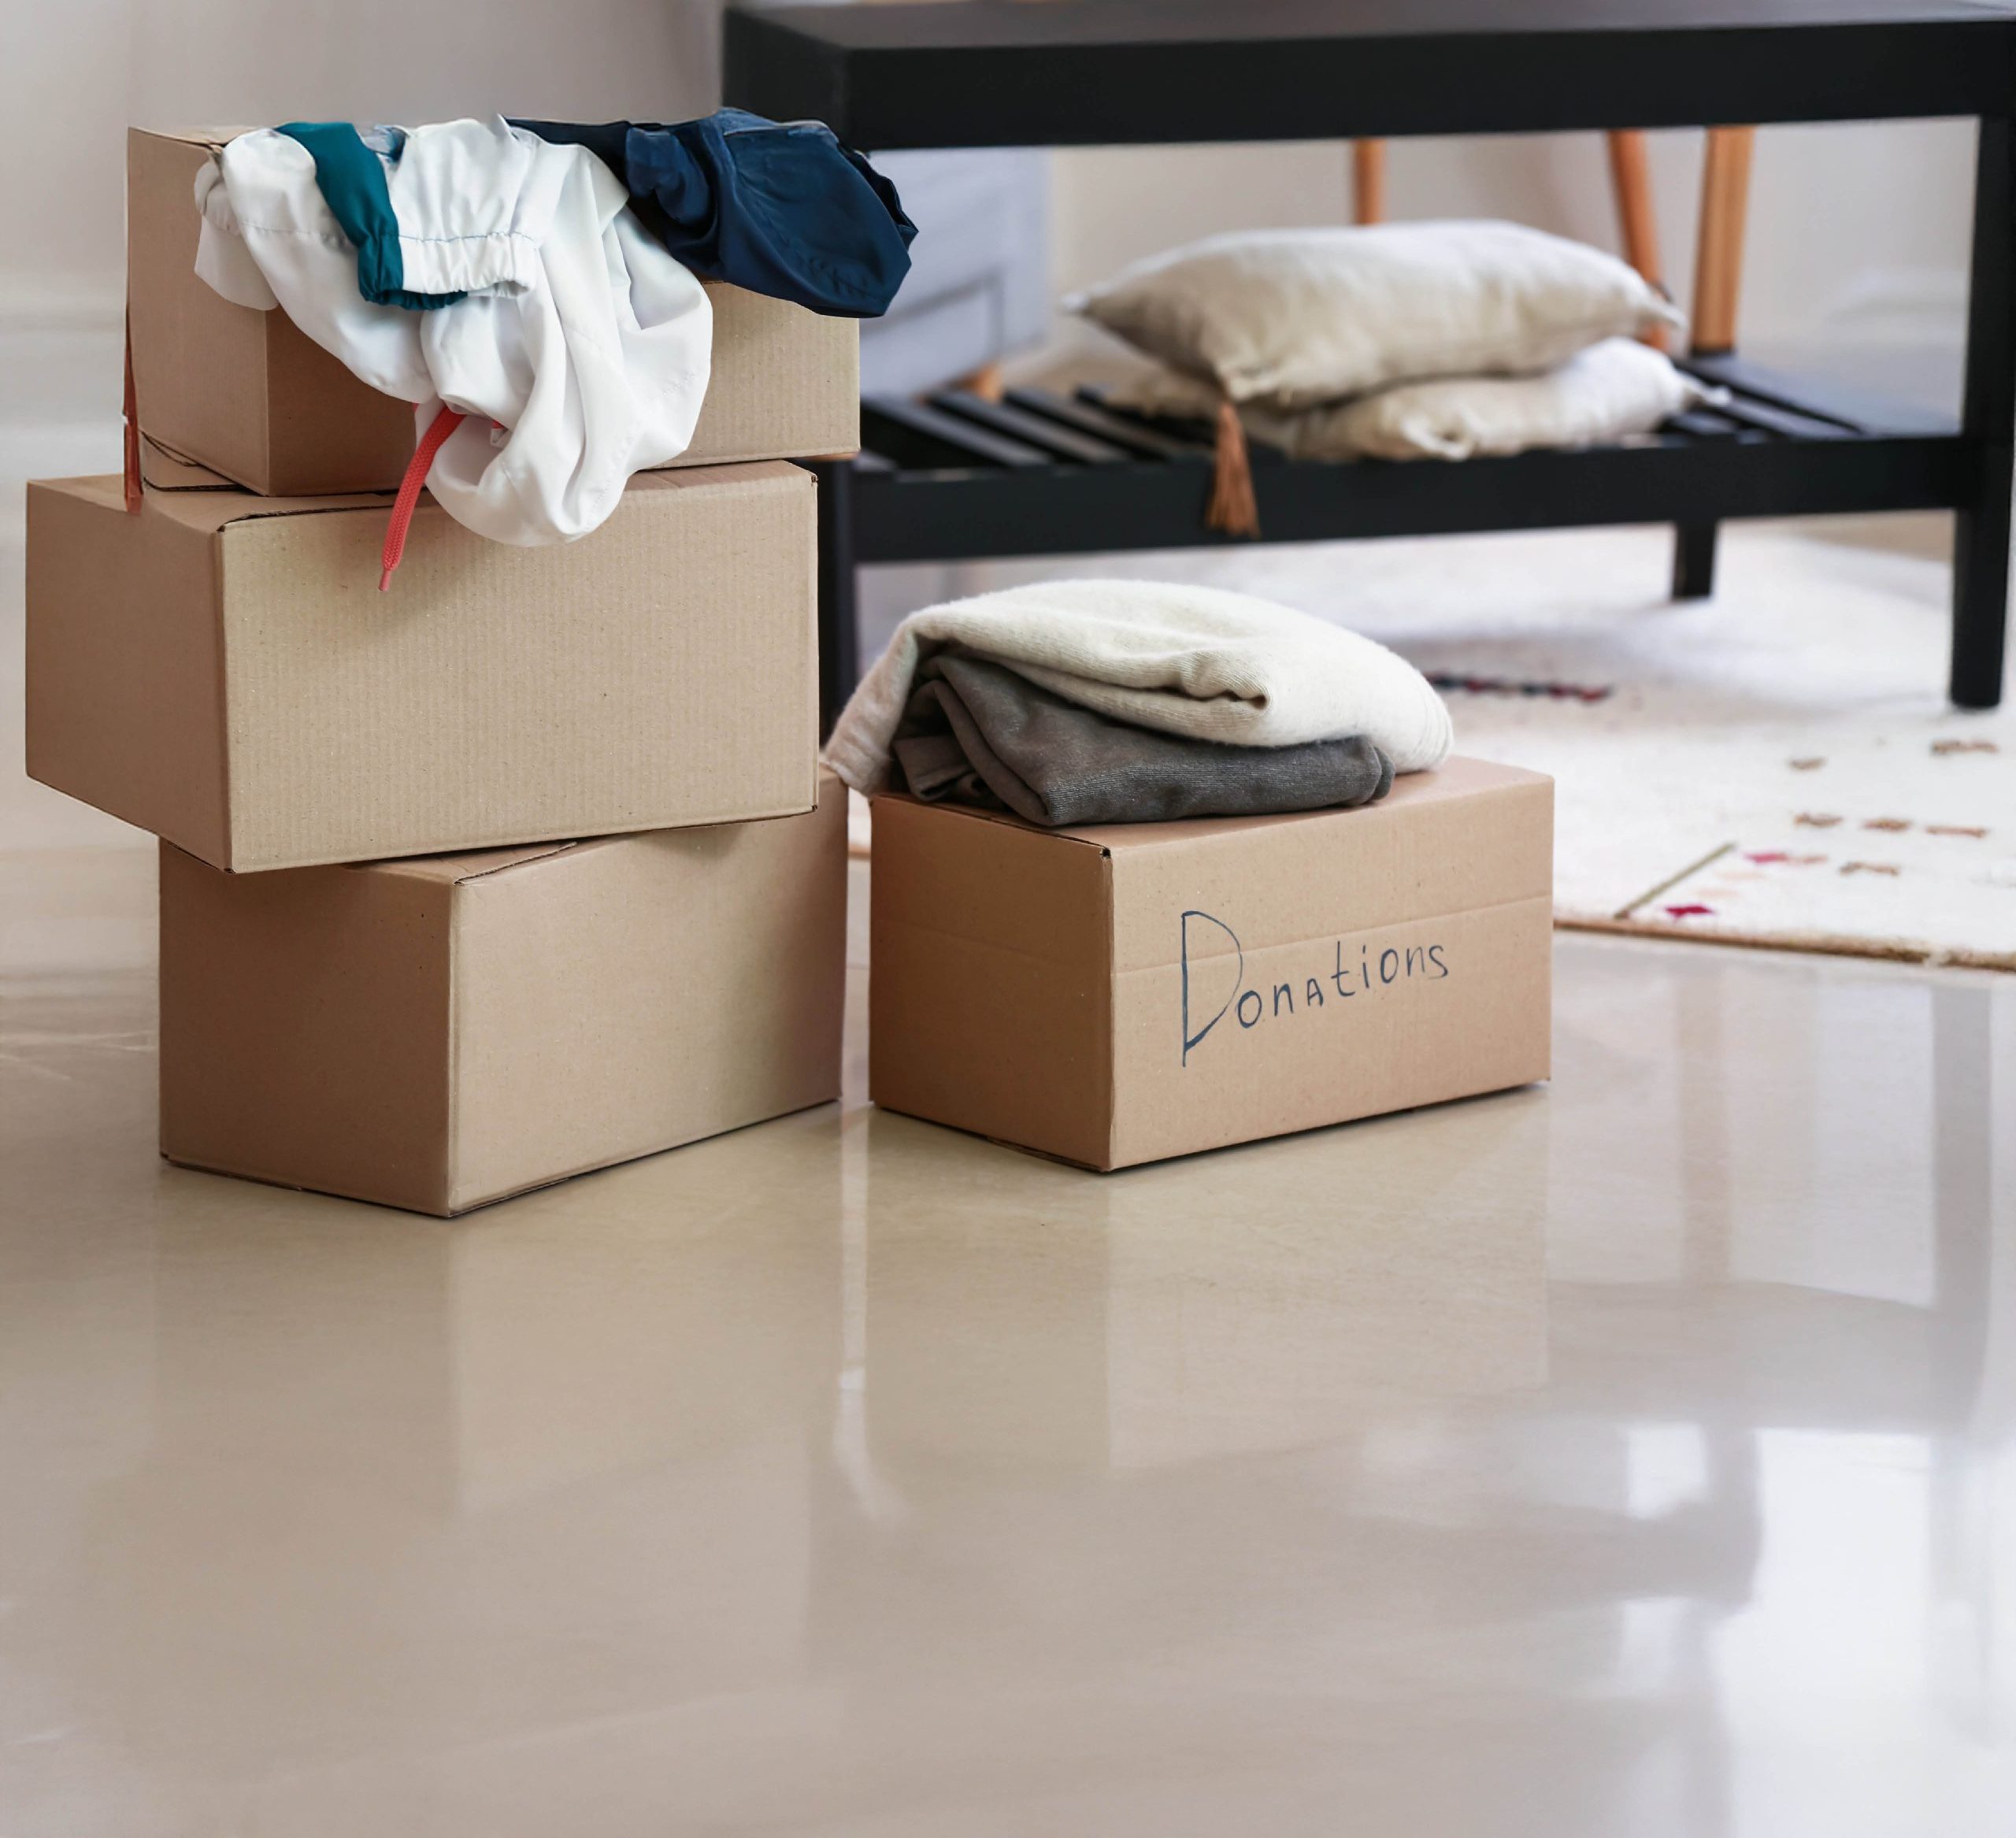
What to Keep, Donate or Digitize Before Any Big...
Face your future with confidence and an organizational plan.
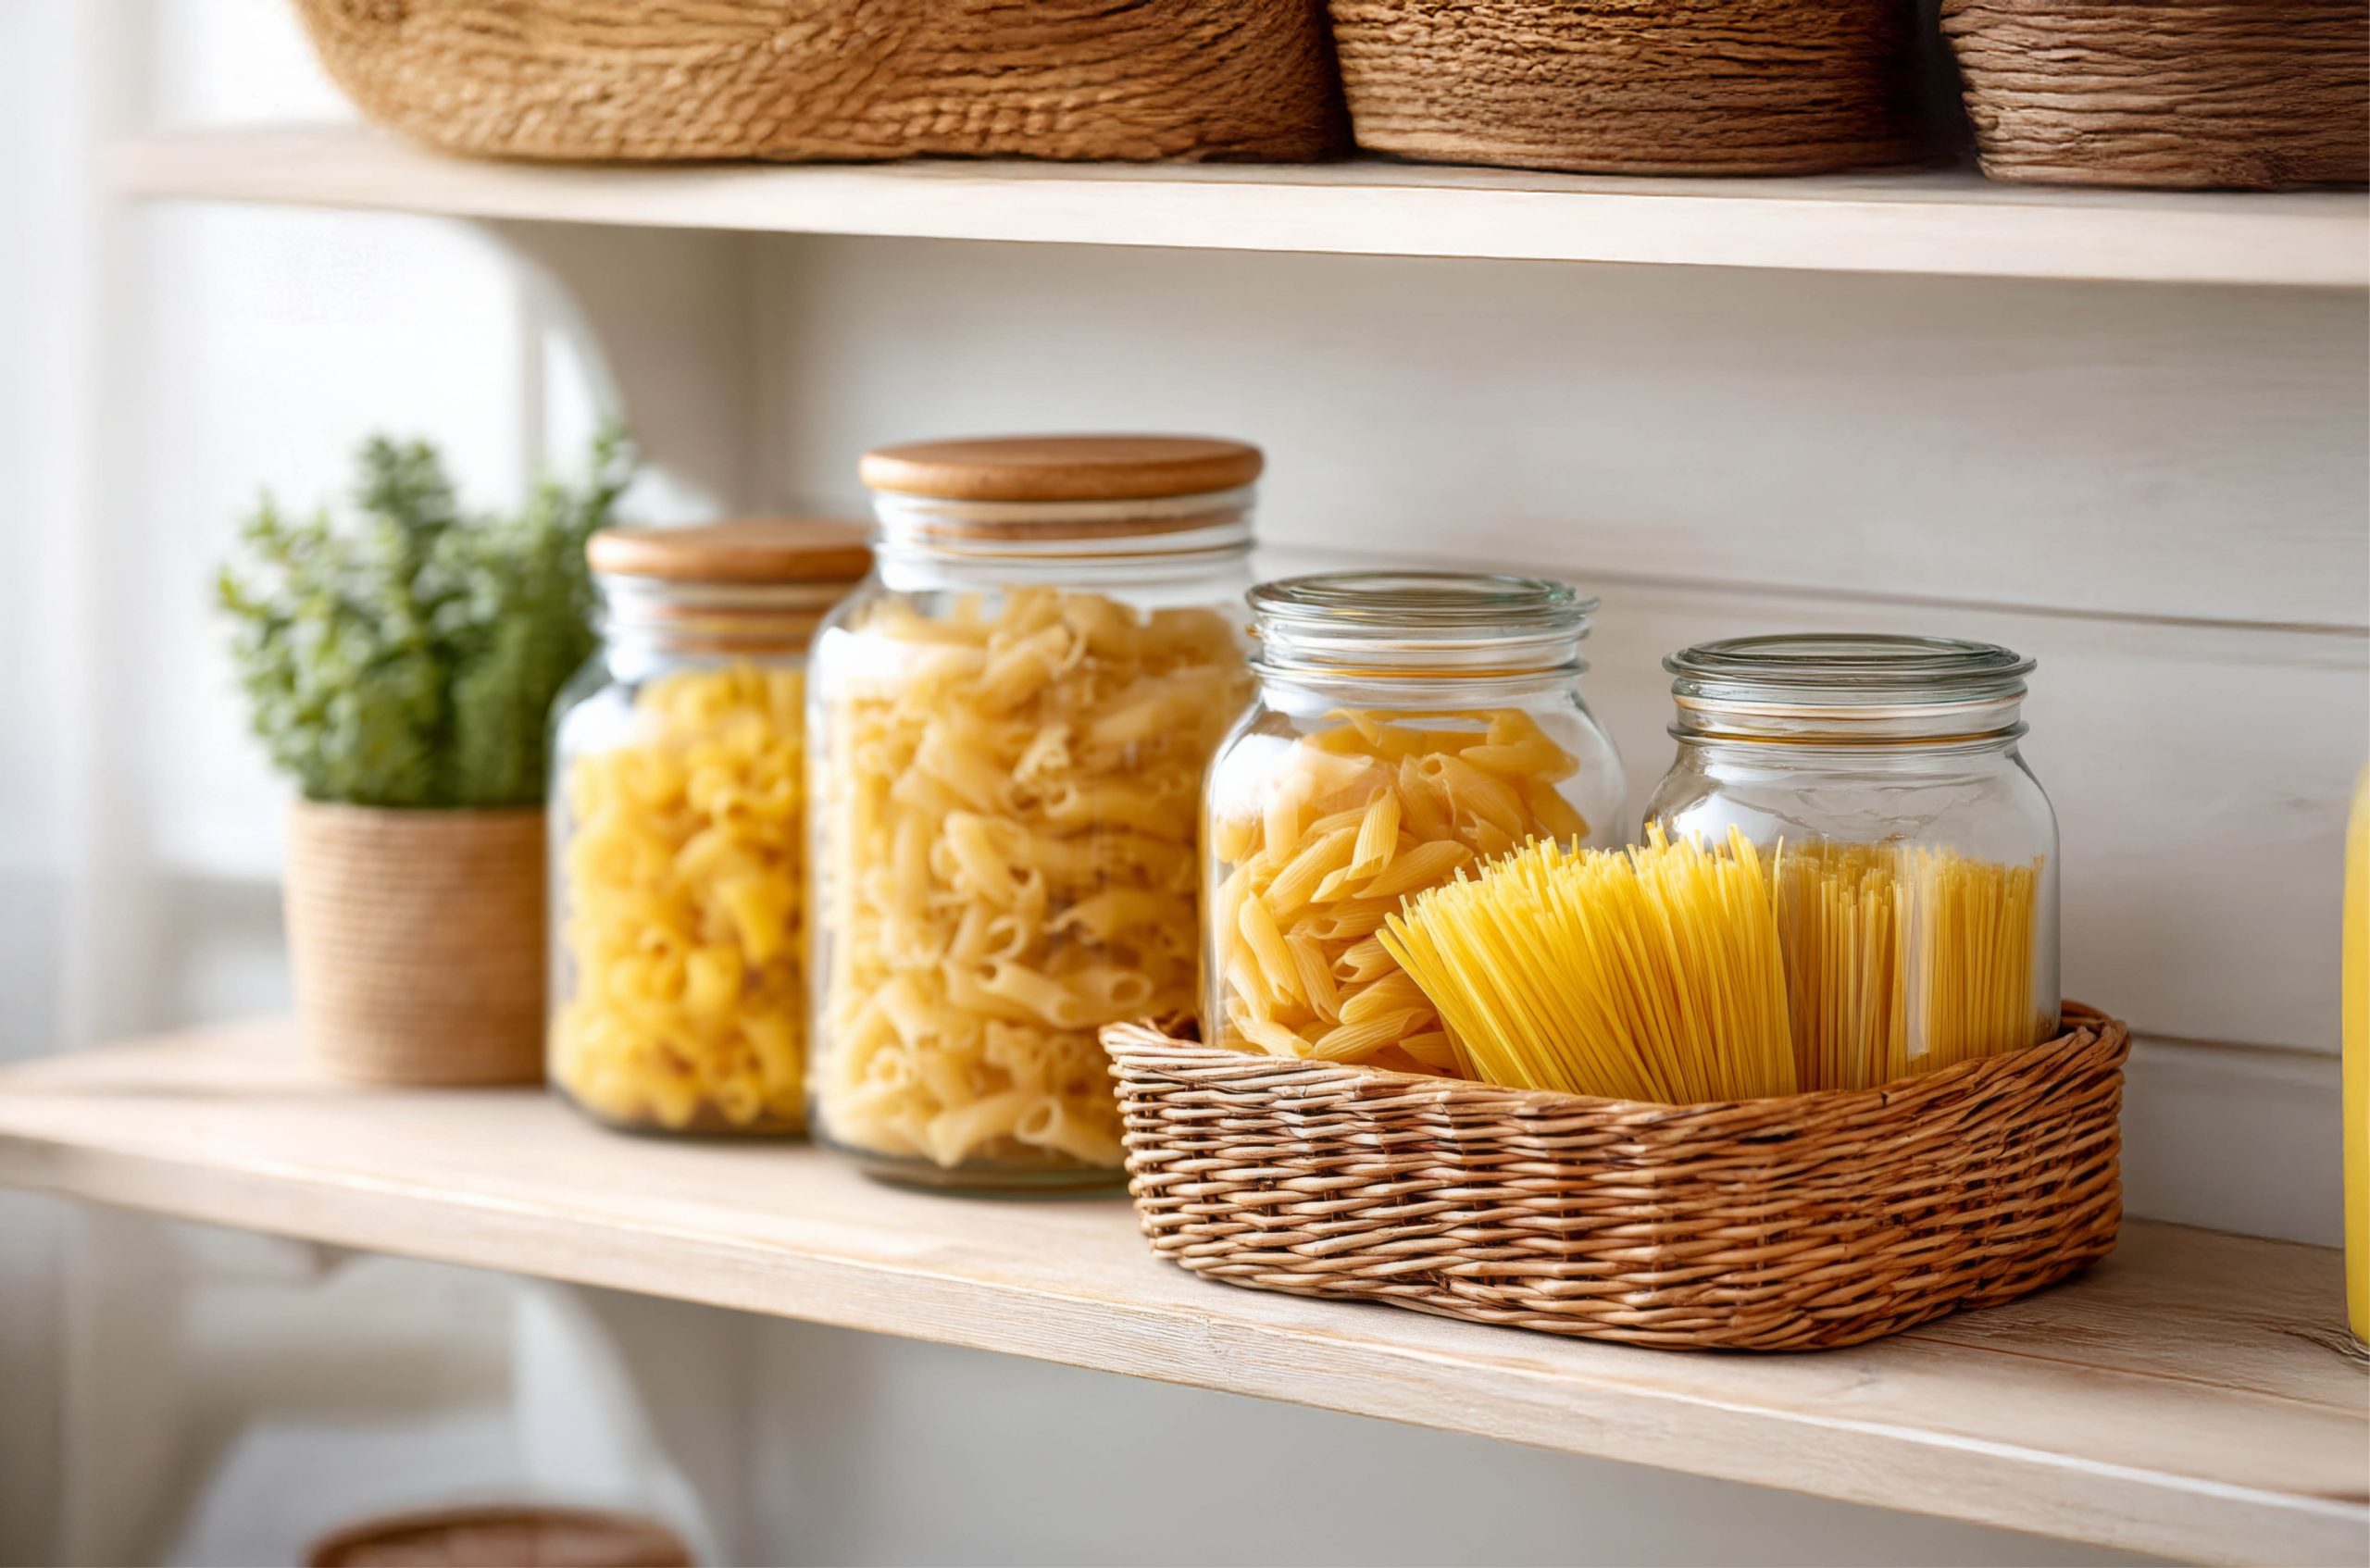
How to Organize Your Kitchen or Pantry in One...
Learn how to reorganize your kitchen or pantry in just one weekend by decluttering, creating functional storage zones and maximizing available space...
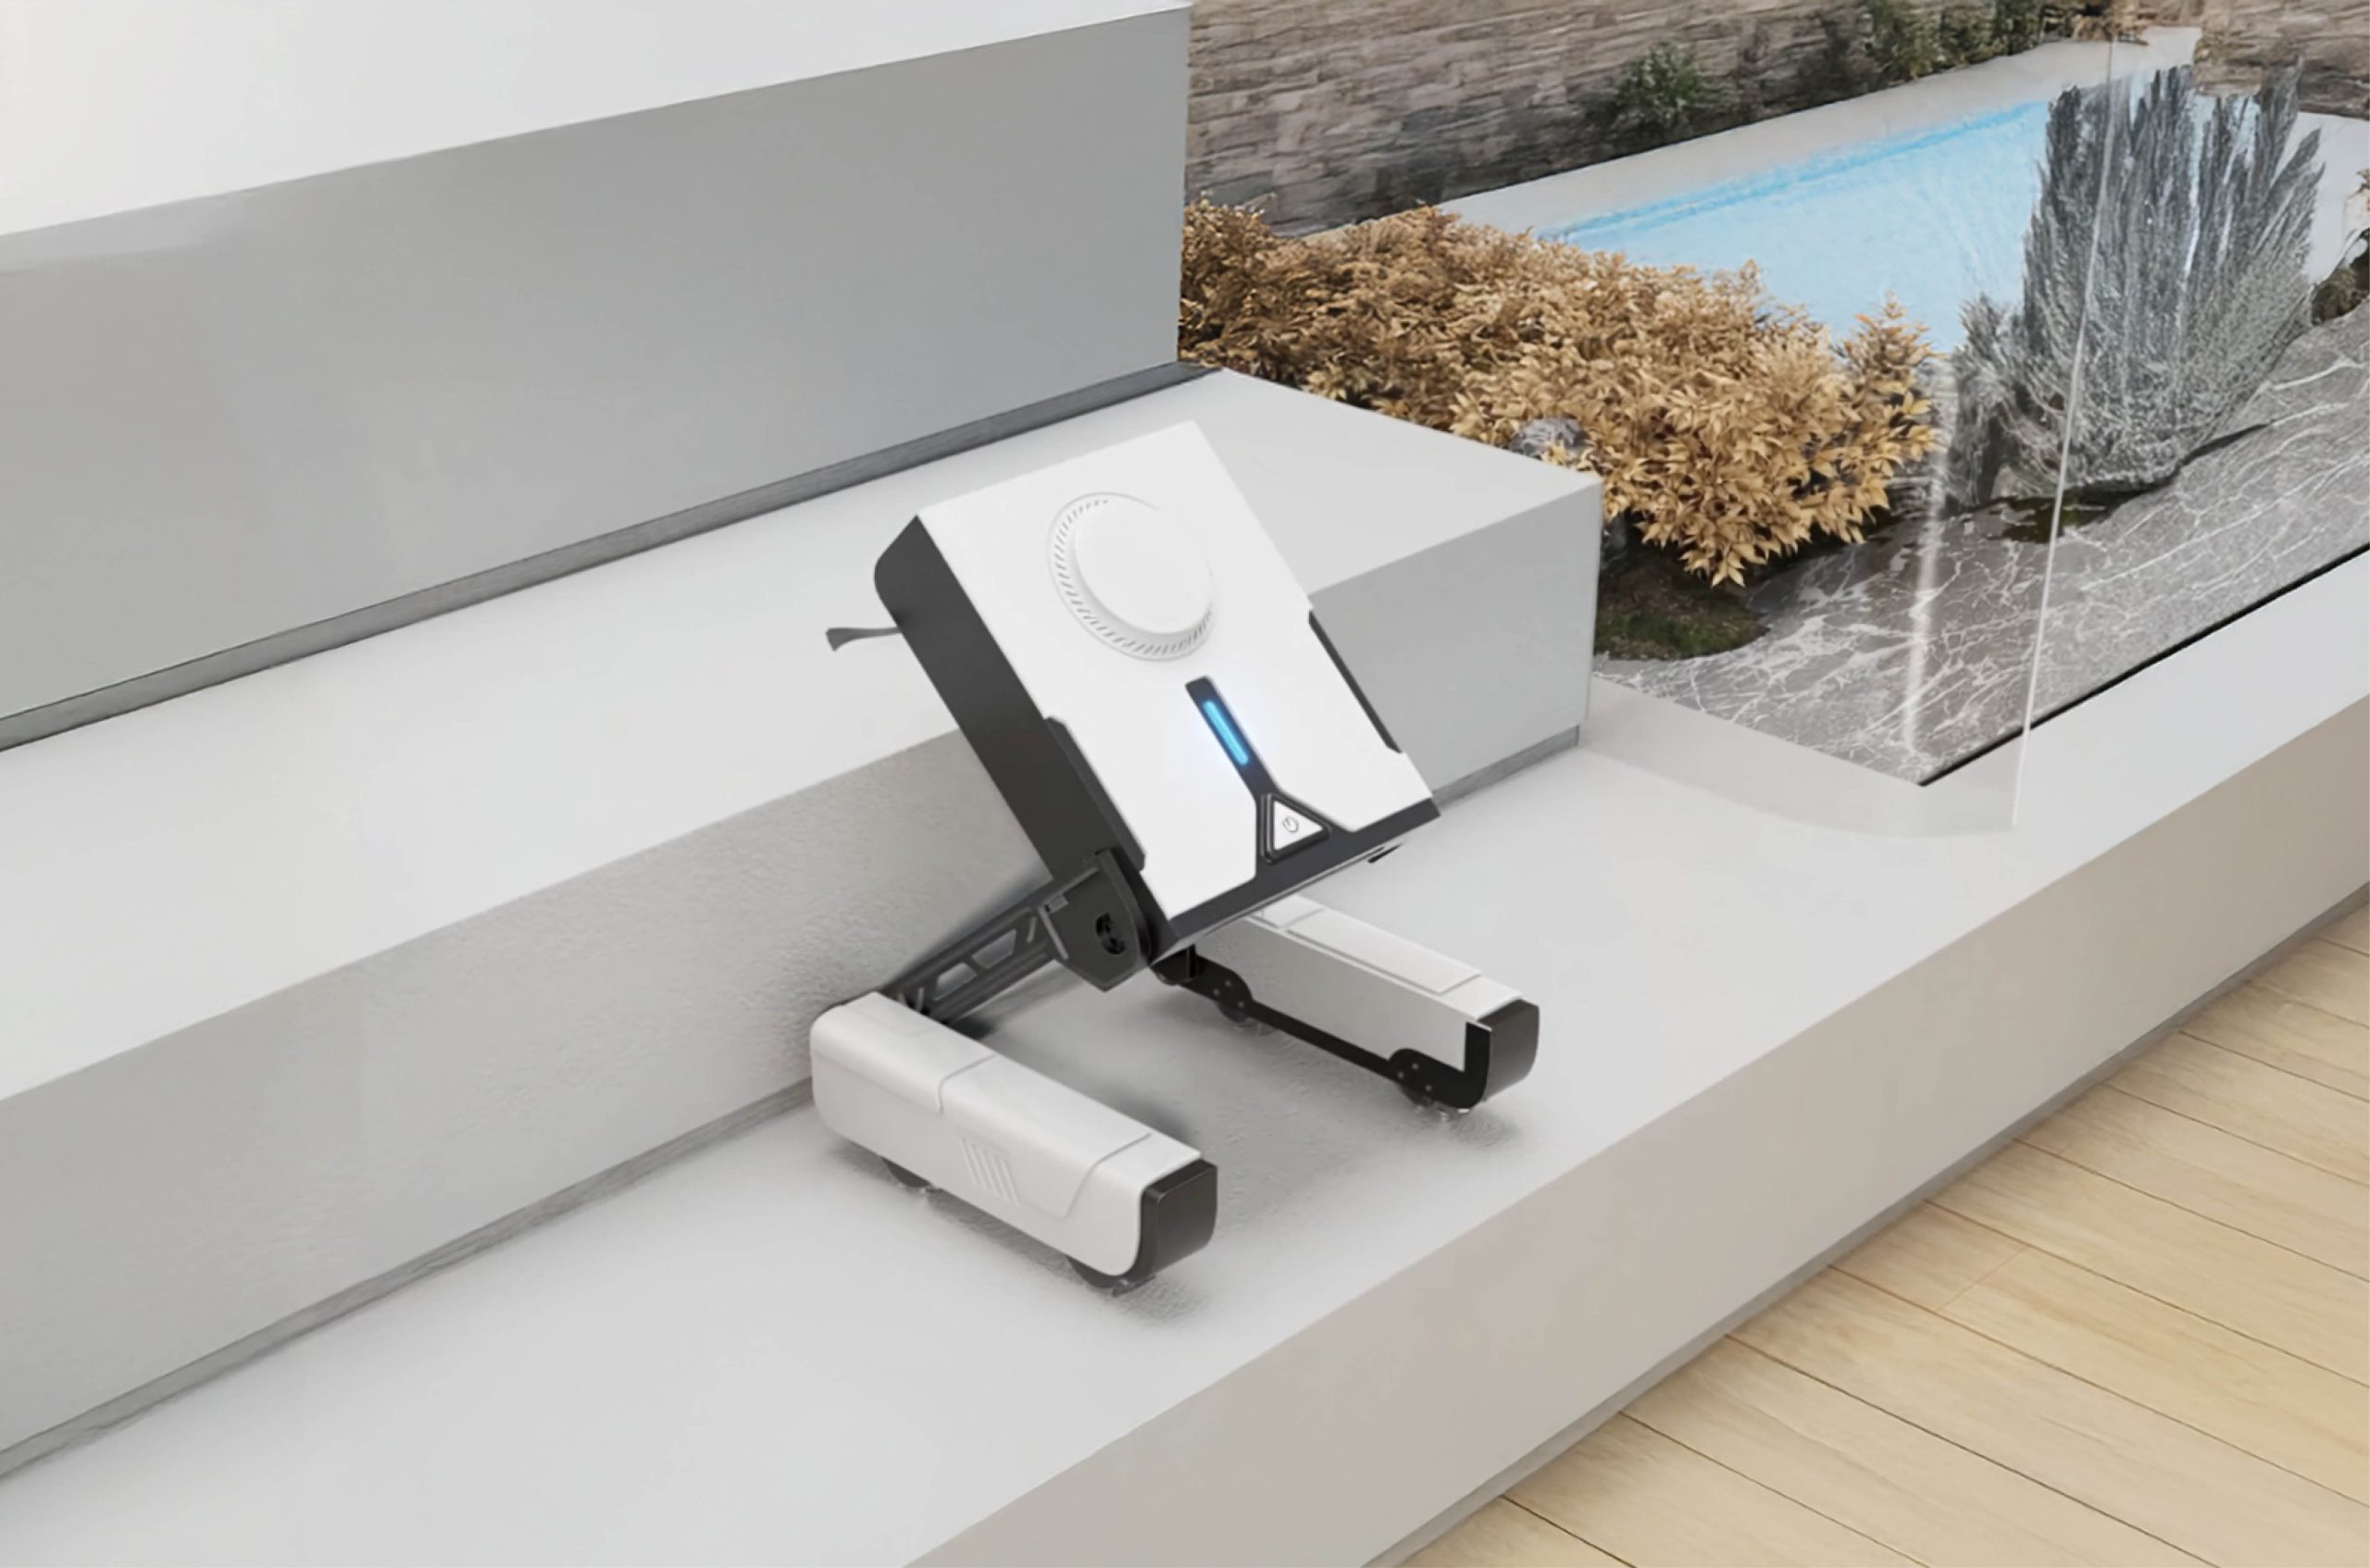
The Best Home Gadgets Transforming Living in 2026
Explore the hottest home gadgets of 2026, including AI ovens, smart refrigerators, robot vacuums and energy systems transforming modern homes.
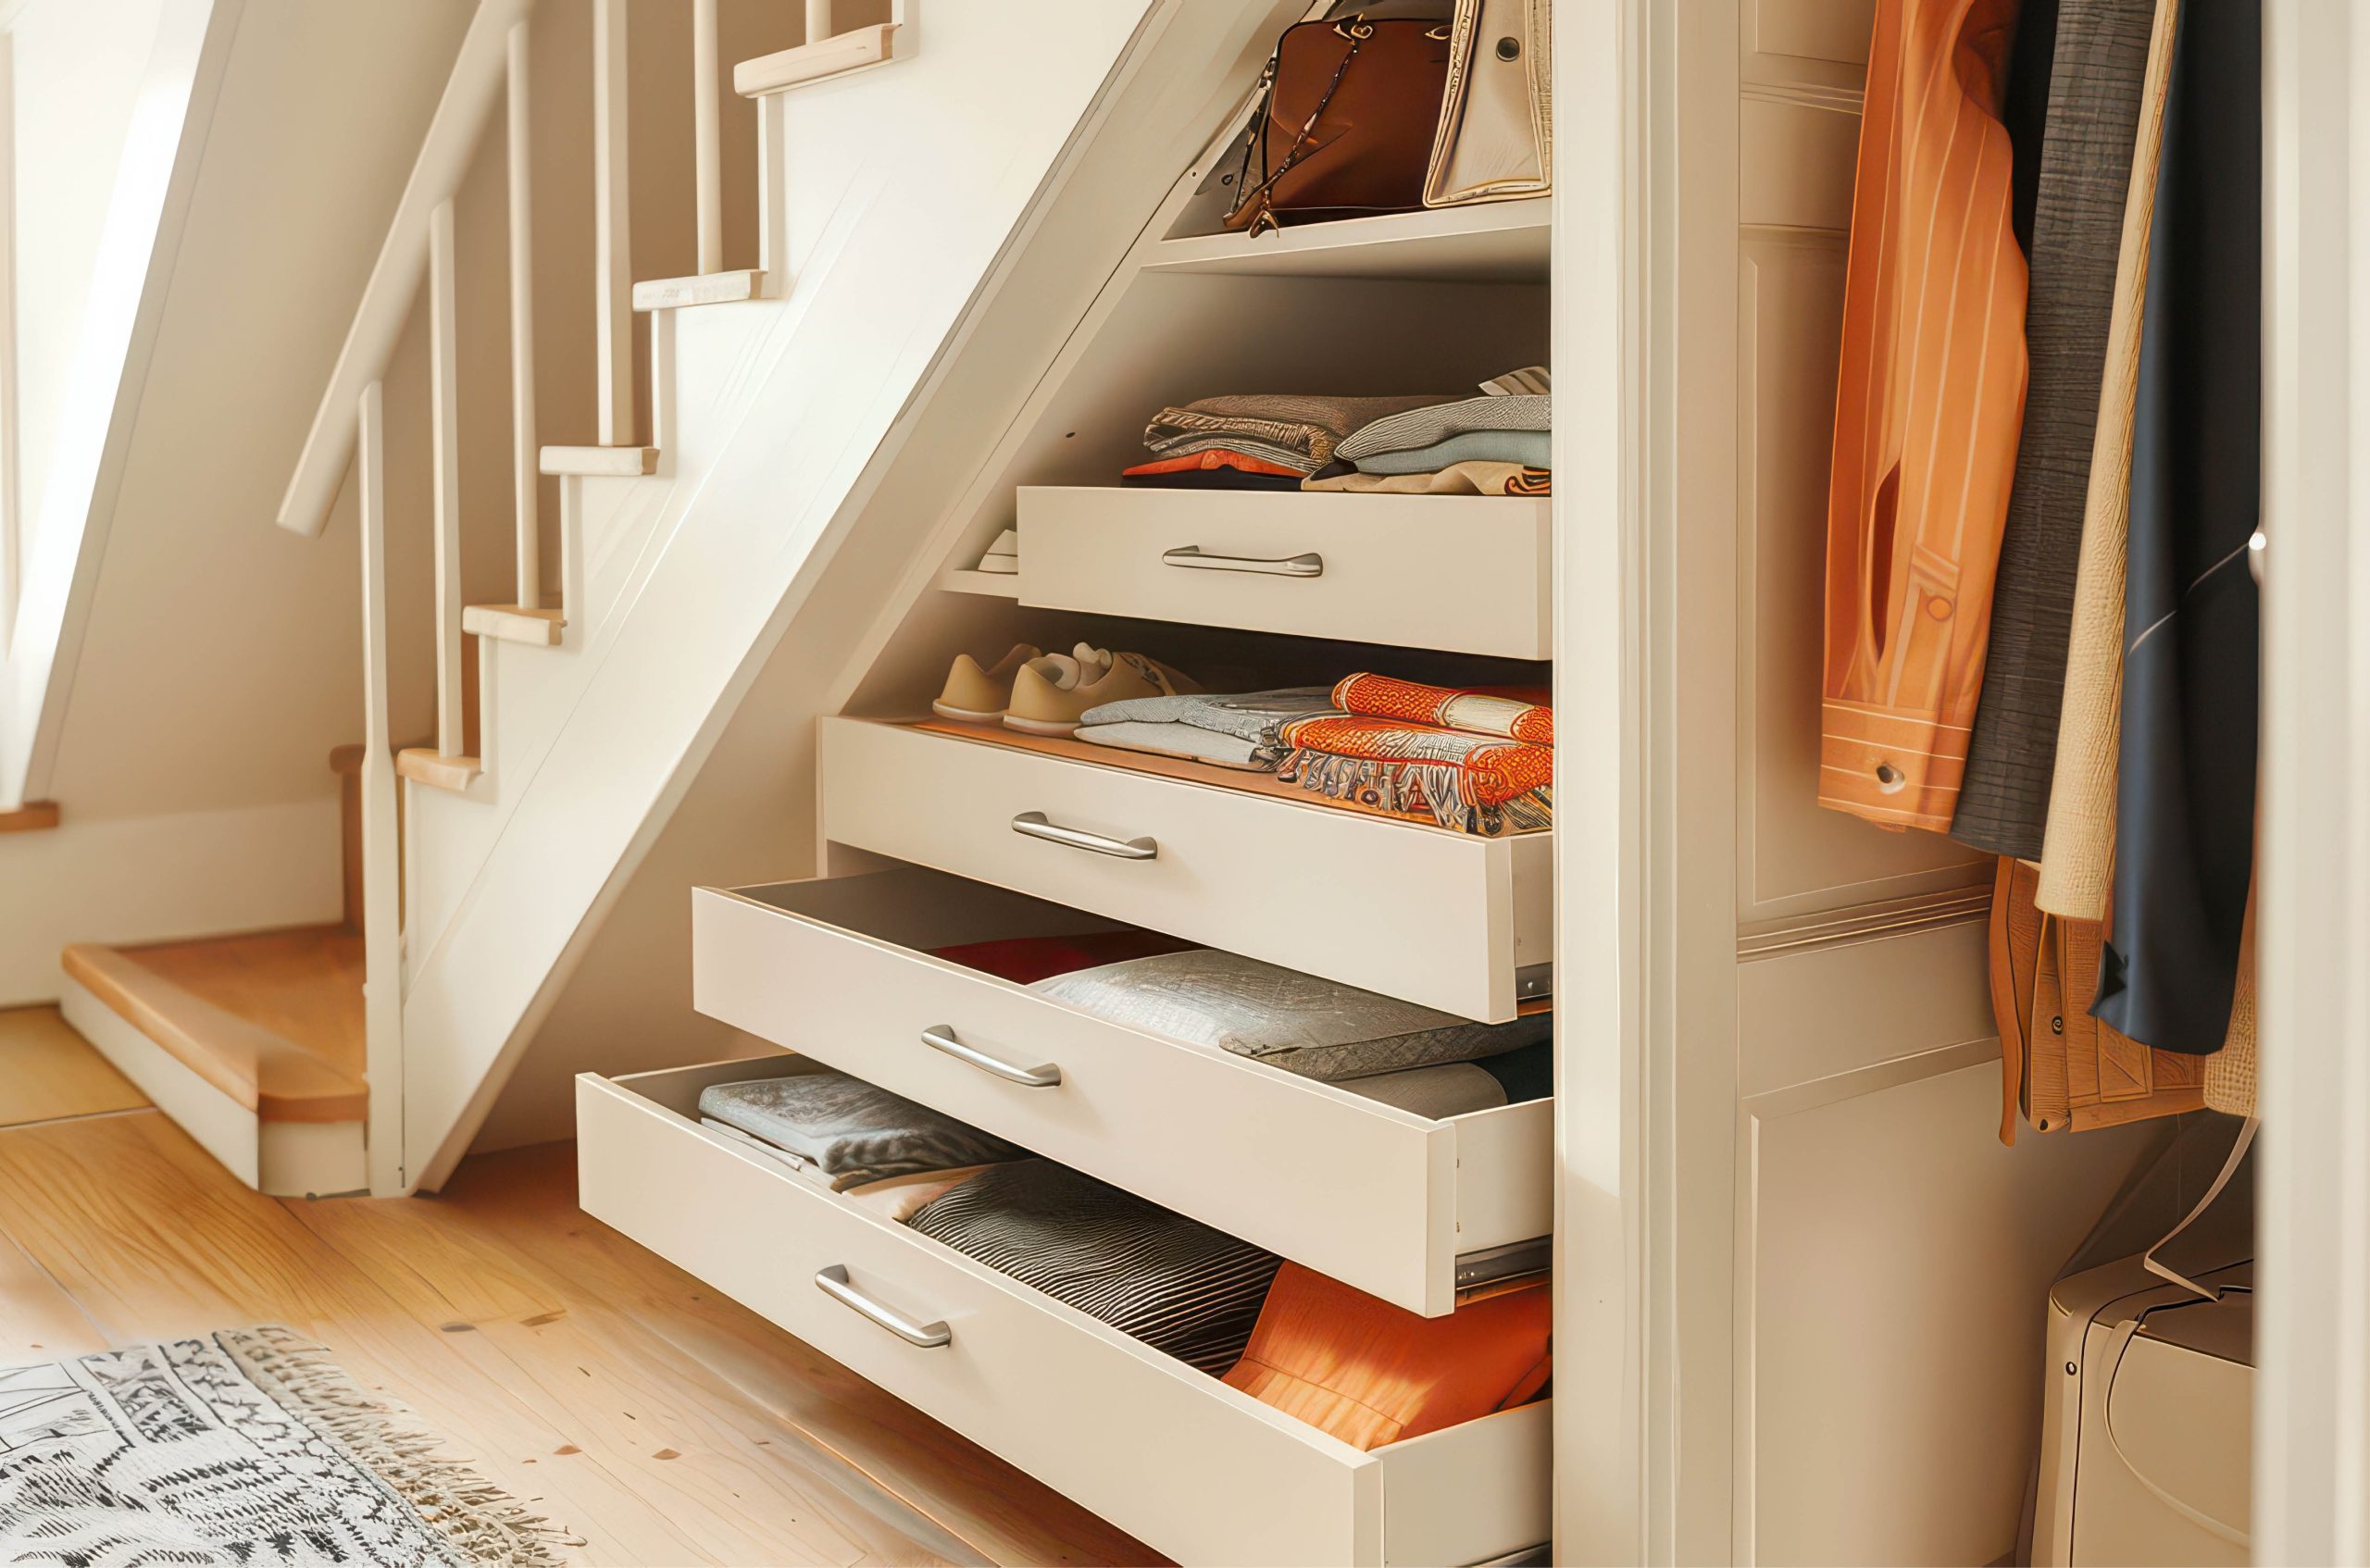
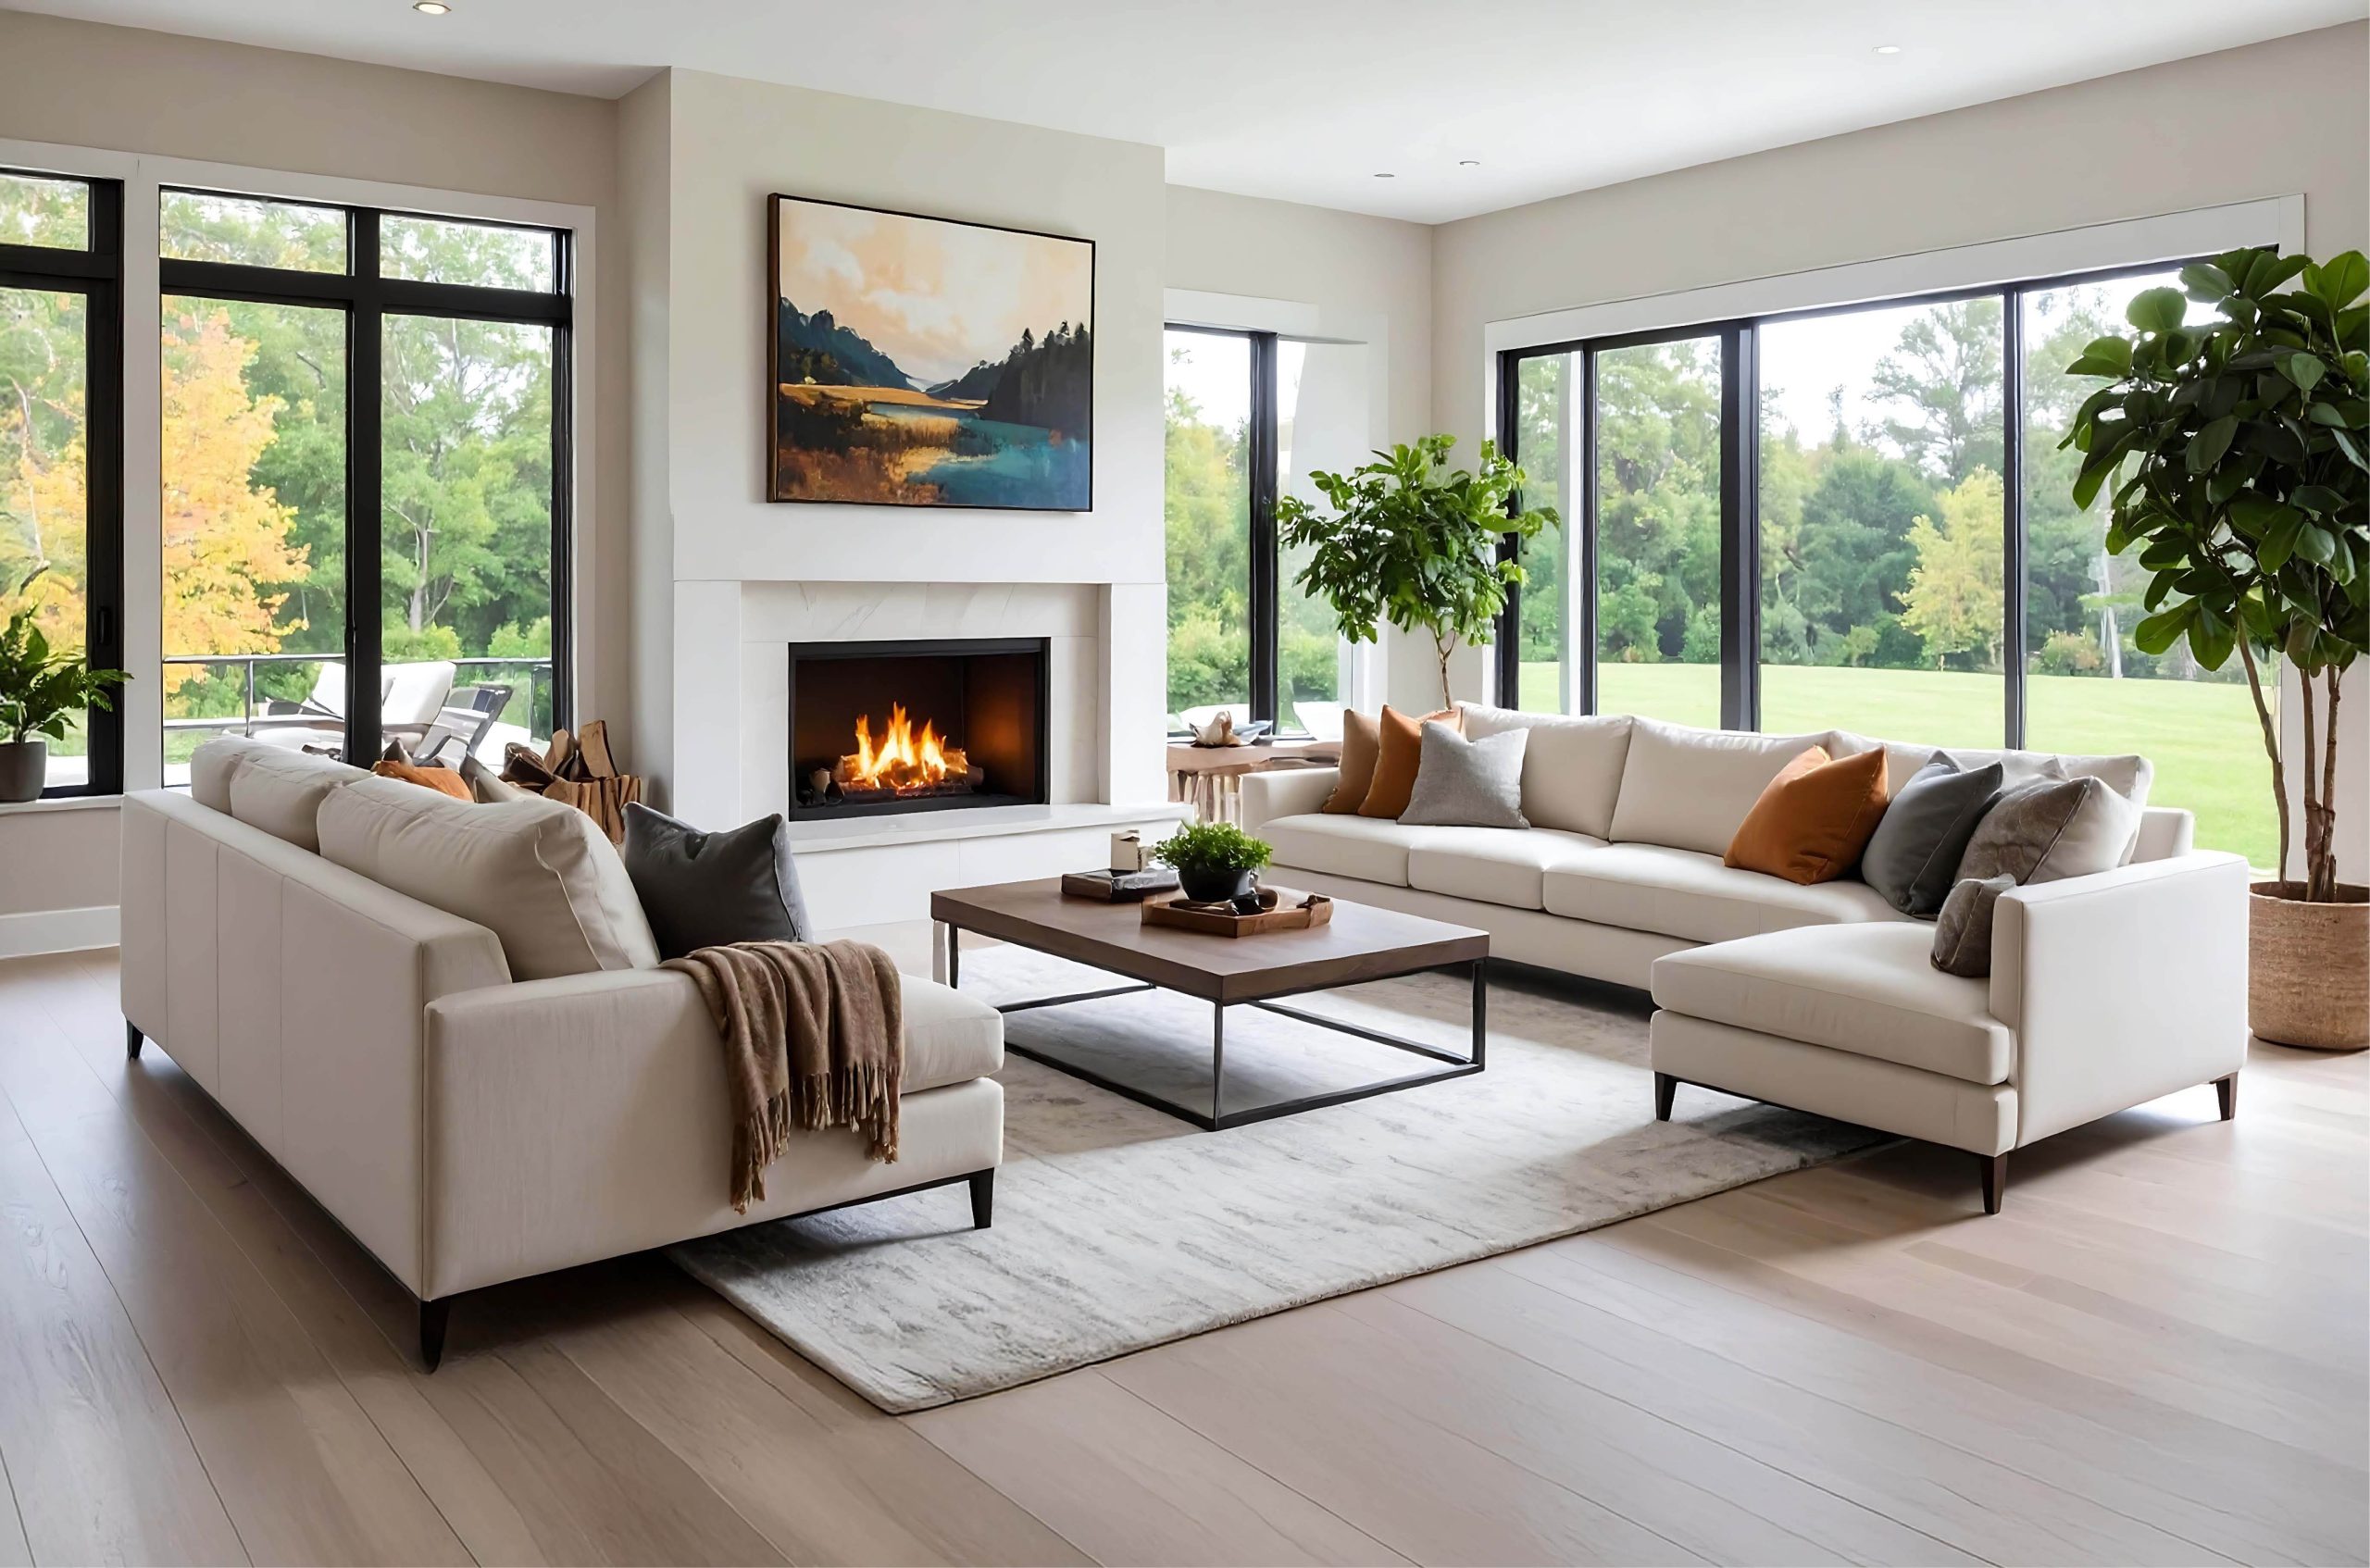
Designing for Small Spaces: Maximize Your...
Transform your home’s look and feel with space-saving solutions.
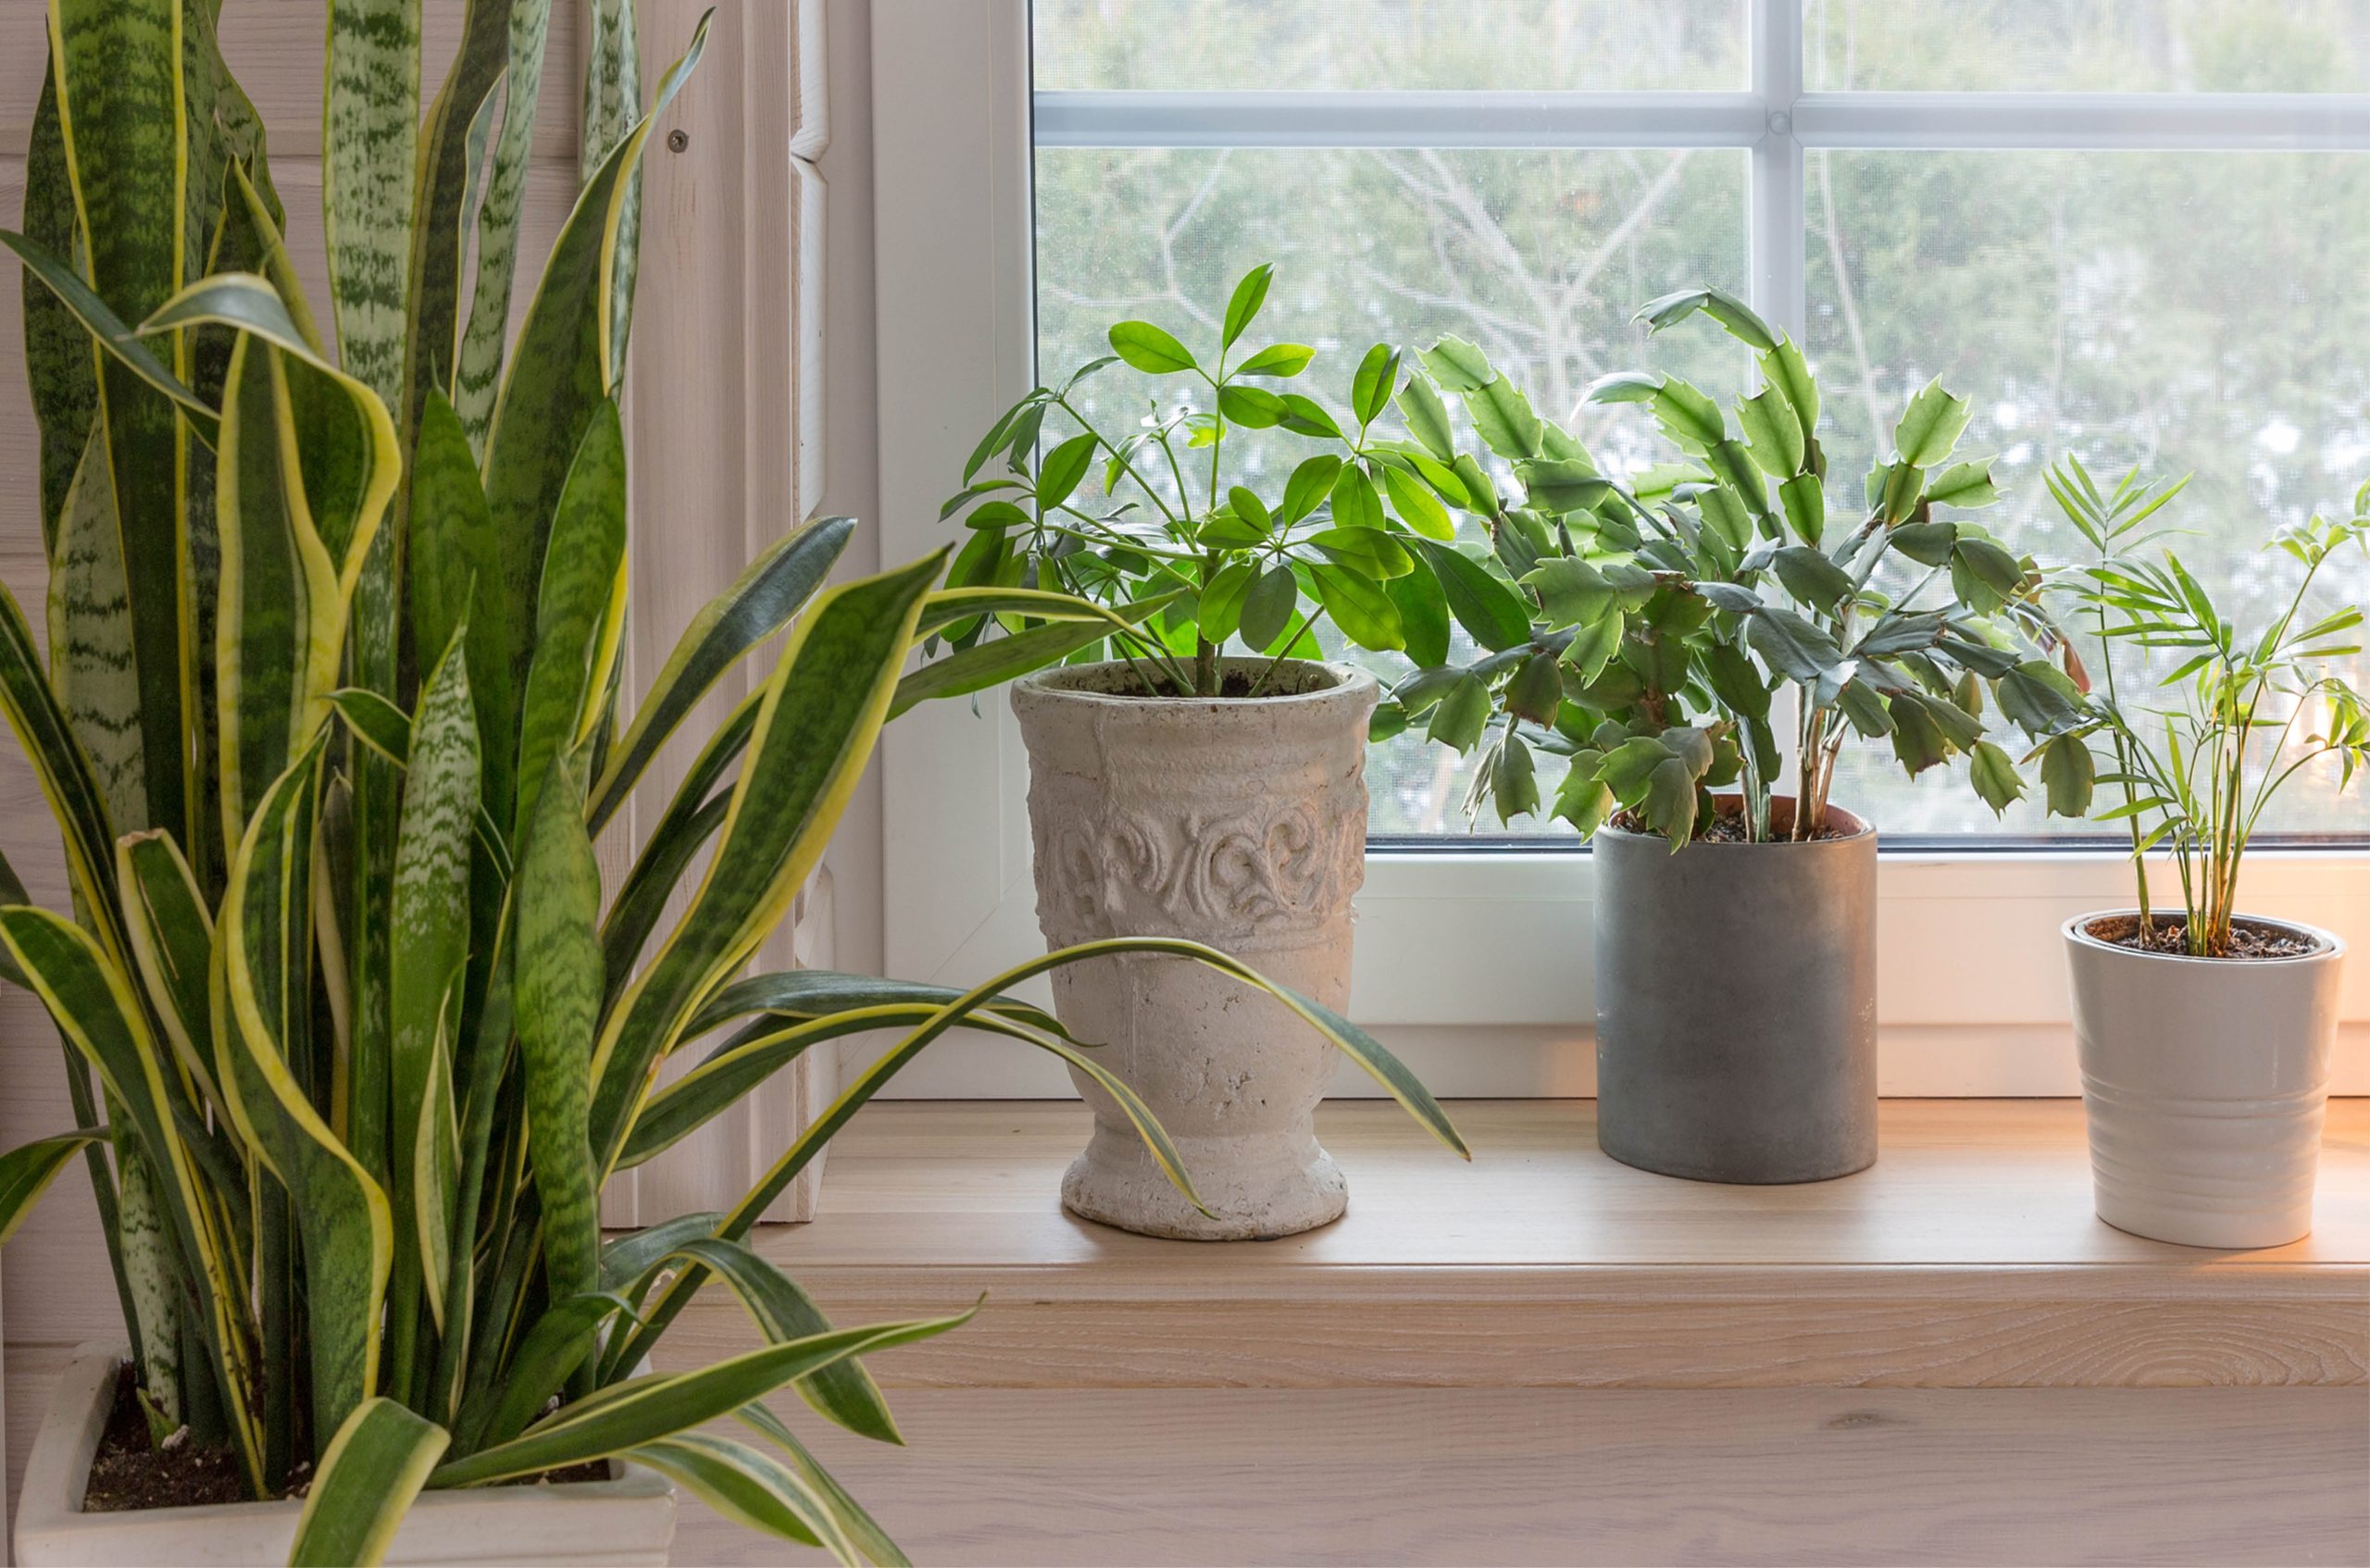
The Best Indoor Plants for Your Home
Discover the best indoor plants for your home that bring calm and warmth to each room.
Free Yourself From Clutter With Today’s...
Transform your home with minimalist design trends that clear clutter, brighten your space and add value using soft colors, natural textures and smart...